
Welcome to ImageResizer-Net
Your Trusted Resource for Android Apps, Image Editing & Technology Guides
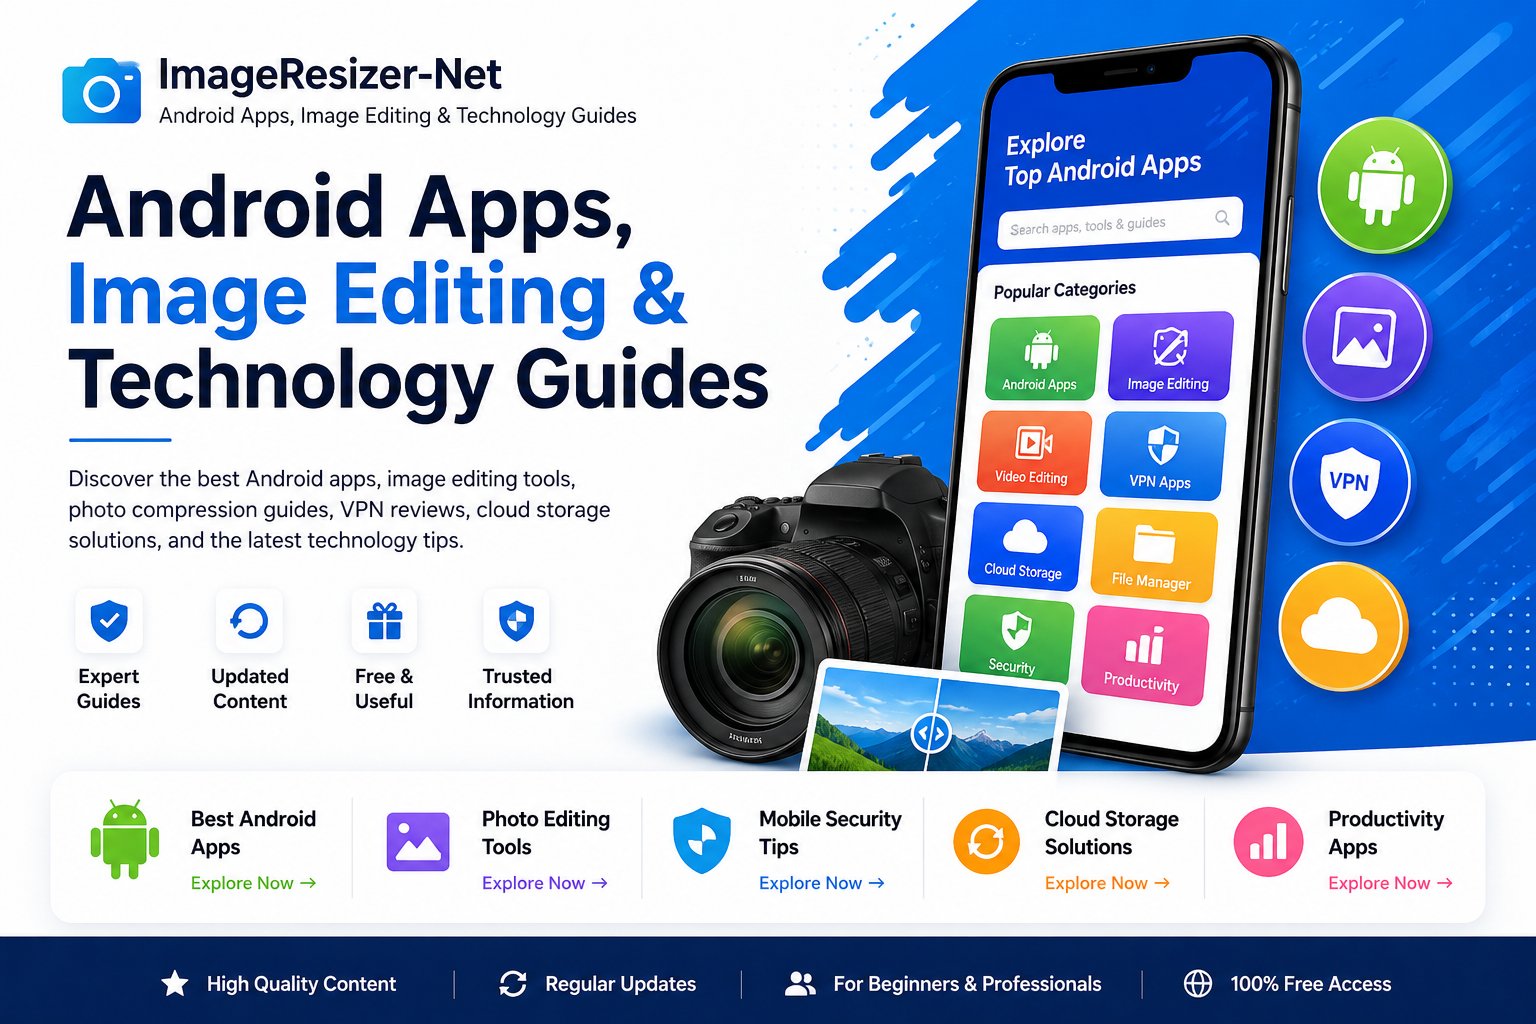
ImageResizer-Net is a free online platform dedicated to helping users discover the best Android applications, image editing solutions, mobile productivity tools, security tips, and technology guides. Whether you are looking for the latest VPN apps, photo editors, cloud storage services, or smartphone optimization tutorials, our expert-written content is designed to provide clear, practical, and up-to-date information.
Our goal is to make technology simple and accessible for everyone. Every article is carefully prepared to help beginners and experienced users find reliable solutions for their everyday digital needs.
Explore Our Categories
Android Apps
Discover the best free and premium Android applications for productivity, entertainment, education, and daily use.
Image Editing
Learn how to resize, compress, crop, and enhance images using the best software and online tools.
Video Editing
Find beginner-friendly and professional video editing apps for Android, Windows, and Mac.
Security & Privacy
Protect your smartphone with trusted VPNs, antivirus software, password managers, and privacy tools.
Cloud Storage
Compare popular cloud storage platforms and learn how to securely store and manage your files.
Productivity
Explore apps and tools that help you stay organized, manage tasks, and improve your daily workflow.
Why Choose ImageResizer-Net?
- High-quality, easy-to-read technology articles.
- Regularly updated Android app recommendations.
- Step-by-step image editing and optimization guides.
- Honest software reviews and comparisons.
- Beginner-friendly tutorials.
- Fast-loading pages for a better reading experience.
- SEO-focused content for maximum value.
Popular Topics
- Best Android Apps
- Photo Editing Apps
- Video Editing Software
- Cloud Storage Services
- VPN Applications
- Mobile Security Tips
- Image Compression Guides
- Productivity Applications
- Smartphone Optimization
- File Manager Apps
Latest Articles
Stay updated with our newest technology guides, software reviews, Android tutorials, and image editing tips. We regularly publish fresh content to help you discover useful apps, improve your mobile experience, and solve everyday technology problems.
Our Mission
Our mission is to provide accurate, easy-to-understand, and practical technology content for users around the world. We believe everyone should have access to reliable information about Android apps, image editing, mobile security, and digital productivity without unnecessary complexity.
Stay Connected
We continue to publish fresh articles covering:
- Android Tutorials
- Technology News
- Software Reviews
- Image Editing Tips
- Mobile Security
- Productivity Guides
- Cloud Storage Comparisons
- Best Free Apps
- Smartphone Tricks
- Digital Tools
Bookmark ImageResizer-Net and visit regularly for the latest technology updates and expert recommendations.
Start Exploring Today
Whether you want to find the best Android apps, improve your photos, discover useful software, or learn new technology tips, ImageResizer-Net is here to help. Browse our latest articles and take your digital experience to the next level.